- Published on
Next.js 13 기반 내 블로그에 utterances 추가하기
- Authors

- Name
- Charles
1. 댓글 기능을 추가해보자
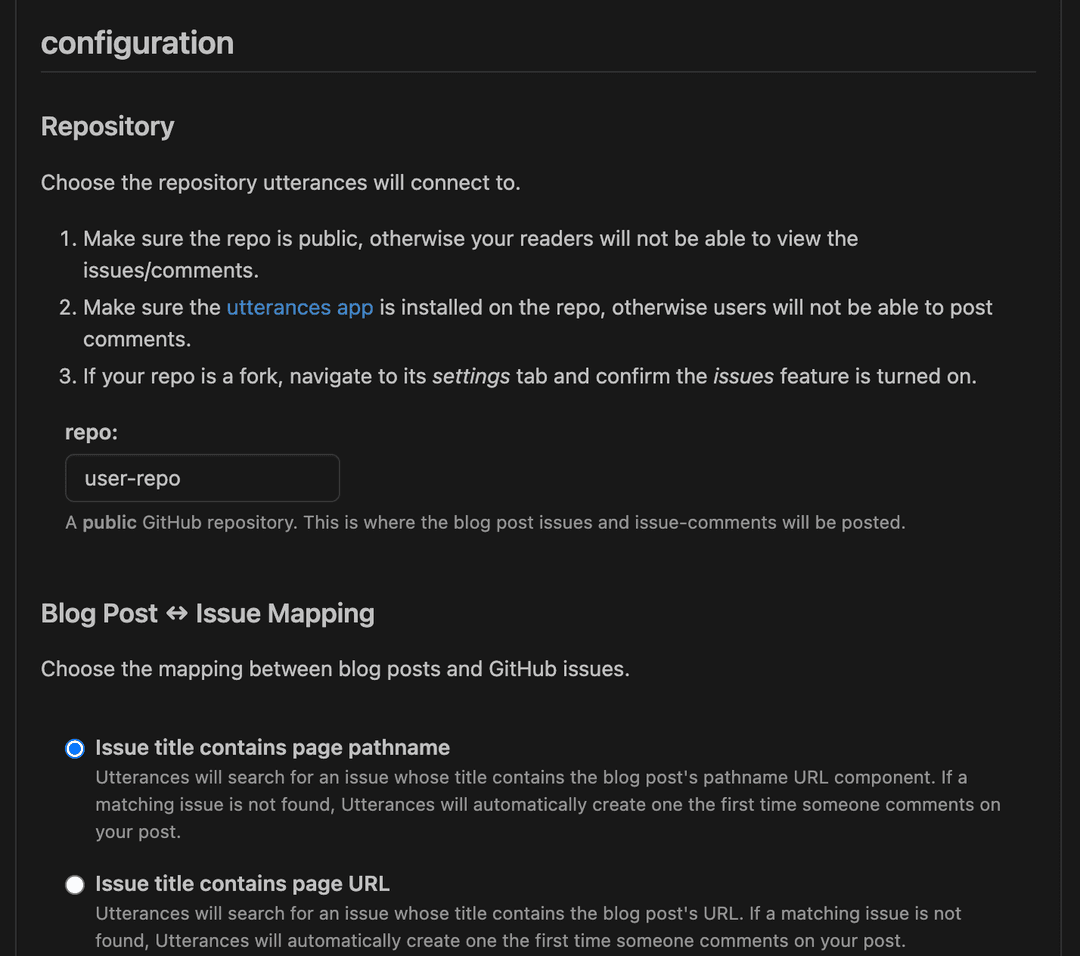
utterances은 GitHub 이슈를 기반으로 하는 가벼운 댓글 위젯이다.
사용법은 위의 사이트로가서 해당 순서대로 진행해주면 된다.
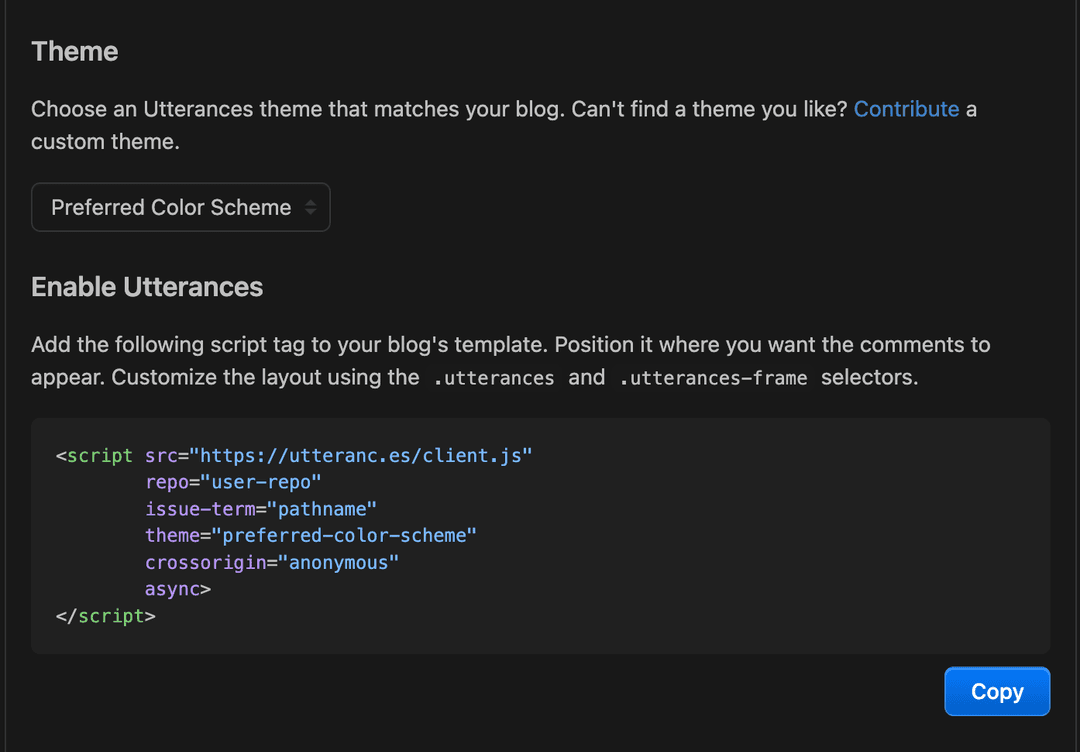
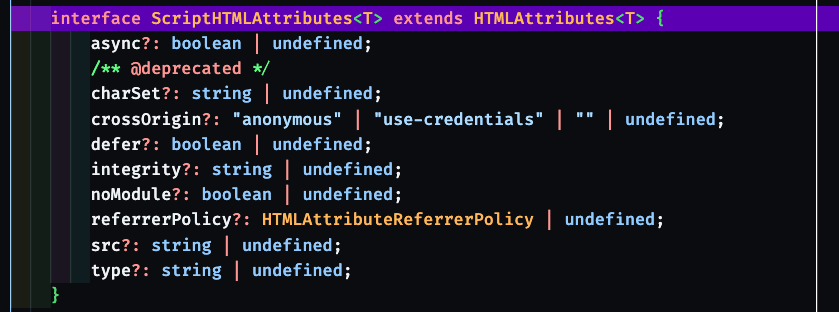
순서에 맞게 진행 후 해당 스크립트를 원하는 부분에 지정을 해주면 되는데 next/Script를 사용해서 해당 부분을 추가하게 되면 아래와 같은 에러가 발생한다.

해당 Script에 정의되어있는 속성을 보게되면 repo에 관한 것이 없기 때문에 에러가 발생한다.
이를 적용하기 위해서 Comments with Utterances on Next.js 해당 블로그에서 나와있는대로
코드를 참조해서 적용해주었다.
'use client';
import { useEffect, useRef } from 'react';

export default function Comments() {
  const ref = useRef<HTMLDivElement | null>(null);
  useEffect(() => {
    const scriptElement = document.createElement('script');
    scriptElement.async = true;
    scriptElement.crossOrigin = 'anonymous';
    scriptElement.src = 'https://utteranc.es/client.js';

    scriptElement.setAttribute('issue-term', 'pathname');
    scriptElement.setAttribute('label', 'comment');
    scriptElement.setAttribute('repo', 'user-repo');
    scriptElement.setAttribute('theme', 'preferred-color-scheme');

    ref.current?.appendChild(scriptElement);
  }, []);

  return <div ref={ref} />;
}
위의 컴포넌트를 추가하고자 하는 부분에 넣어주기만 하면 된다.
export default function PostPage({ params: { slug } }: Props) {
  const post = getPostData(slug);
  const { title, image, next, prev } = post;
  return (
    <>
      <TransitionEffect />
      <Layout className="pt-16 md:pt-12 sm:pt-8 md:p-8 sm:p-4">
        <article className="rounded-2xl overflow-hidden bg-light shadow-lg border-2 border-solid dark:bg-dark dark:border-light">
          <Image
            className="w-full h-1/5 max-h-[500px]"
            src={`/images/posts/${image}.webp`}
            alt={title}
            width={760}
            height={420}
            priority
          />
          <PostContent post={post} />
          <section className="w-full border-t border-light">
            <Comment />
          </section>
          <section className="flex lg:flex-row md:flex-col sm:flex-col shadow-md border-t border-light">
            {prev && <AdjacentPostCard post={prev} type="prev" />}
            {next && <AdjacentPostCard post={next} type="next" />}
          </section>
        </article>
      </Layout>
    </>
  );
}
그리고 연동이 잘 되어있는지 확인한다.
해당 댓글을 작성하기 위해서는 깃헙 계정이 있어야하고 처음에 내가 댓글을 달았을 때 댓글이 달리지 않길래 확인해보니
내 깃헙 settings > applications > utterances > configure에 들어가서 해당 리포지토리를 연결해주어야 한다.
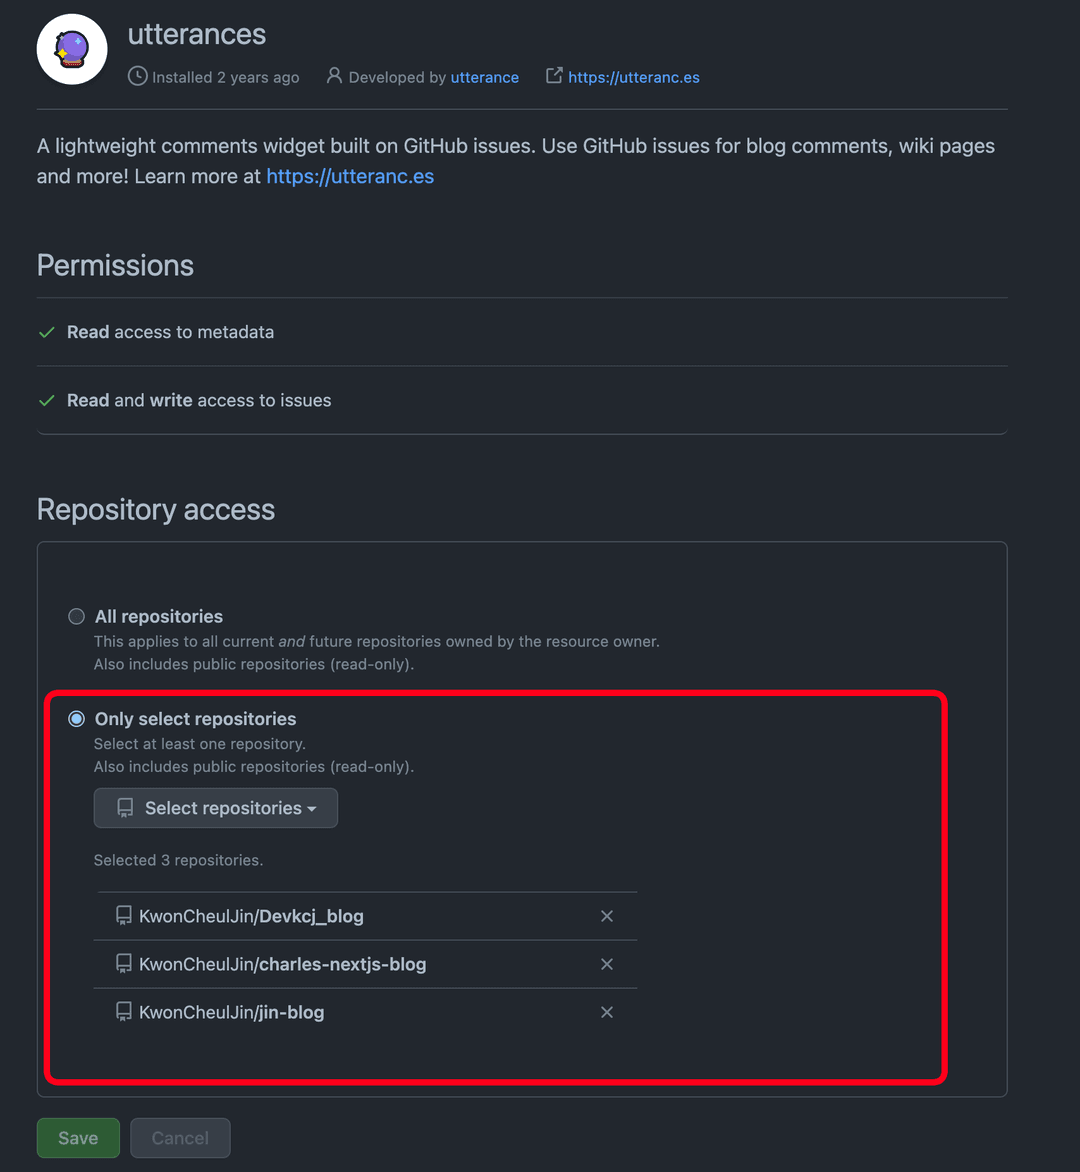
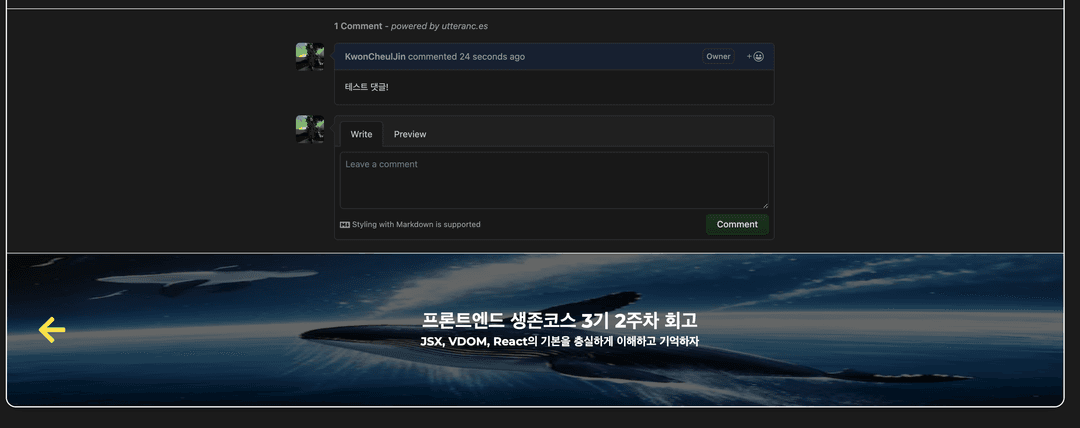
이제 다 완료되었다.
마지막으로 테스트 댓글 스샷!